How to Disassemble and Pack Furniture for a Move

Learn step by step how to disassemble and pack your furniture like a professional to avoid damage and complications during the move. Complete guide with expert tips.

1. Introduction: Why it's important to disassemble correctly

Man disassembling furniture professionally with organized tools and protective materials

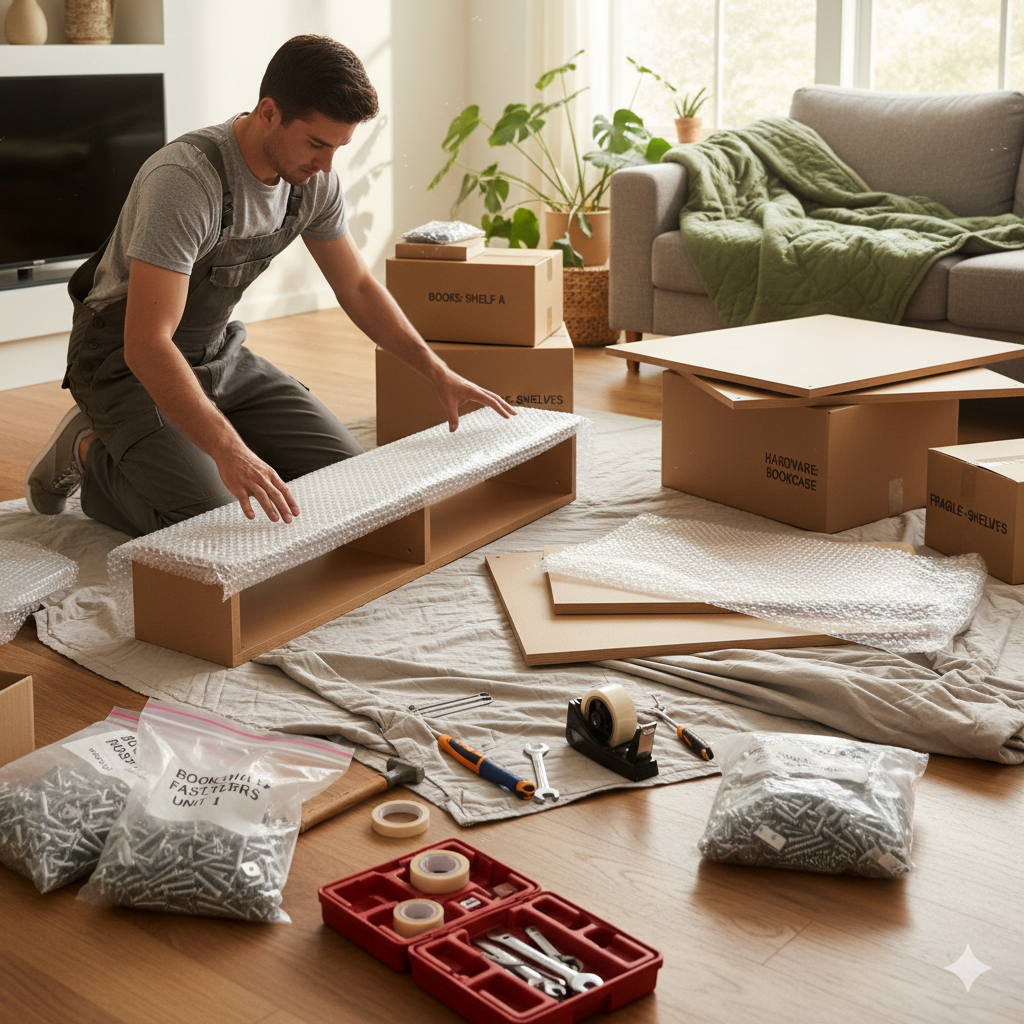
Professional furniture disassembly with organized tools and protective materials

A move can be easier than it seems... if you know where to start. Properly disassembling and packing your furniture is crucial to protect your belongings and avoid damage to both objects and yourself.

Benefits of professional disassembly

  • Total protection: Avoids scratches, bumps and deformations during transport
  • Space saving: Disassembled furniture takes up to 70% less space
  • Transport ease: Lighter and more manageable pieces
  • Faster assembly: With organized pieces, assembly will be more efficient

2. Document before disassembling

Documentation and organization process of furniture before disassembly

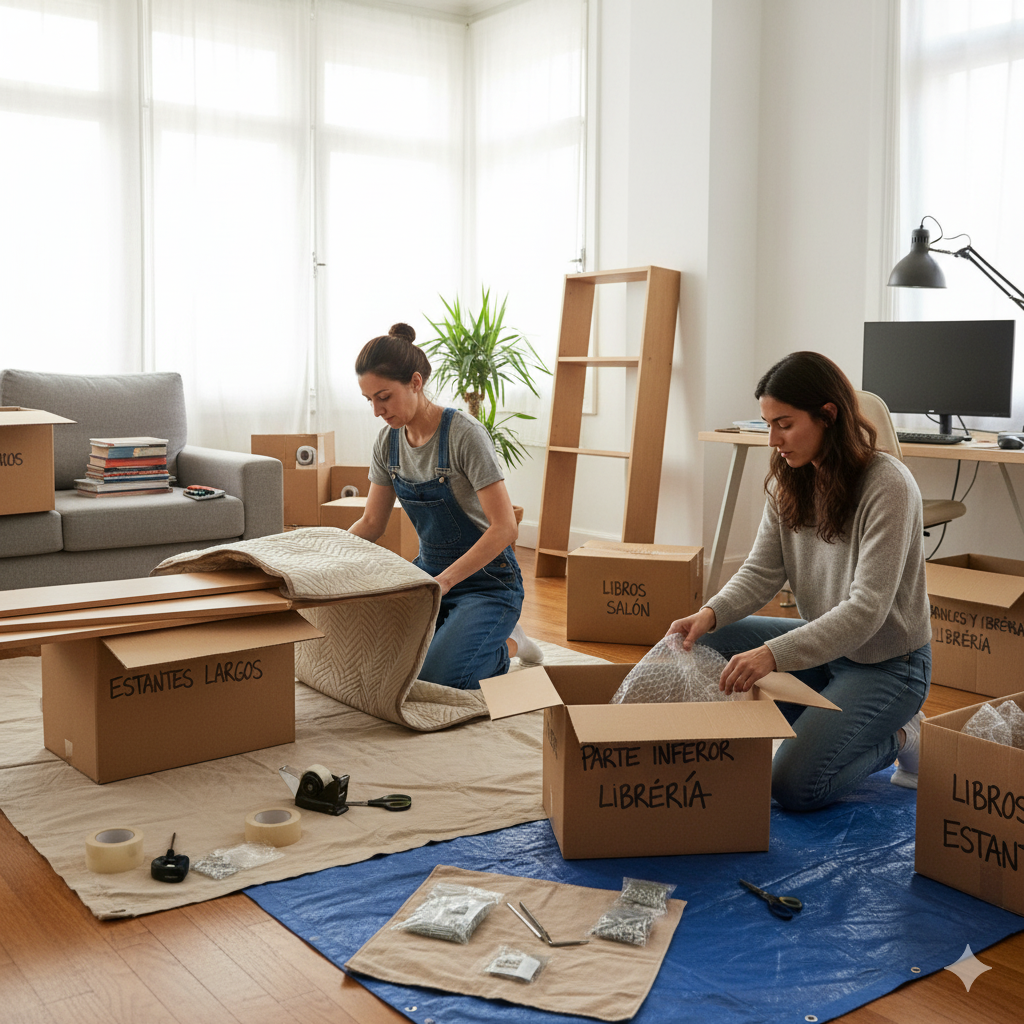
Documentation and organization of tools before disassembly

Take photos from different angles. This will help you remember how to reassemble the furniture and locate specific pieces.

📸 What to photograph

  • • Complete front view
  • • Left and right side views
  • • Details of important connections
  • • Any label or model number
  • • Original instructions if you have them

📝 Additional information

  • • Note the furniture dimensions
  • • Record the approximate weight
  • • Identify materials (wood, metal, glass)
  • • Mark special connection points
  • • Document any previous damage

3. Classify pieces and screws

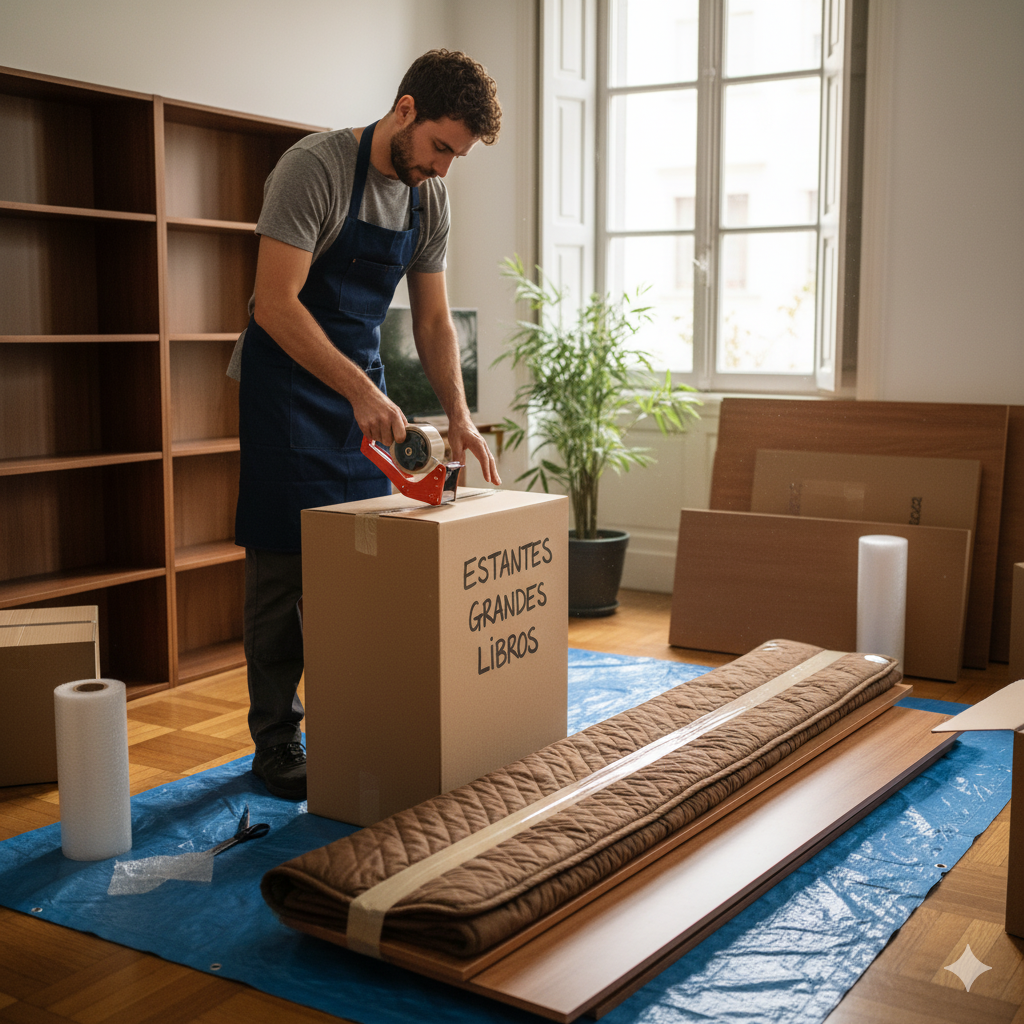
Use airtight bags and labels with the furniture name. You can tape the bag to the main panel.

Professional organization system

For each piece of furniture:

  • • Transparent airtight bag
  • • Label with furniture name
  • • Destination room number
  • • Disassembly date
  • • List of included pieces

Types of screws:

  • • Long screws (for structure)
  • • Short screws (for accessories)
  • • Special screws (for doors)
  • • Washers and spacers
  • • Dowels and plugs

4. Protect surfaces

Furniture protection with packaging materials and tool organization

Professional furniture protection with packaging materials

Use blankets, cardboard, bubble wrap and transparent film. Prioritize corners and edges, which are more vulnerable to impacts.

Basic materials

  • • Protection blankets
  • • Corrugated cardboard
  • • Bubble wrap
  • • Transparent film
  • • Adhesive tape

Critical areas

  • • Corners and edges
  • • Glass surfaces
  • • Delicate finishes
  • • Hinges and hardware
  • • Legs and supports

Professional techniques

  • • Double layer on corners
  • • Wrap completely
  • • Secure with tape
  • • Separate fragile pieces
  • • Mark "FRAGILE"

5. Previous cleaning

Remove dust before packing to avoid scratches from abrasive particles.

Professional cleaning process

Cleaning materials:

  • • Microfiber cloths
  • • Vacuum with nozzles
  • • Multi-purpose cleaner
  • • Soft brushes
  • • Isopropyl alcohol

Cleaning order:

  1. 1. Vacuum dust and dirt
  2. 2. Clean surfaces
  3. 3. Dry completely
  4. 4. Verify cleanliness
  5. 5. Proceed to packaging

6. Label clearly

Put the furniture name, if it's fragile, its weight, and the destination room. This facilitates transport and assembly.

Essential information

  • • Furniture name
  • • Destination room
  • • Approximate weight
  • • Fragility level
  • • Orientation (if important)

Color codes

  • • 🔴 Red: Fragile
  • • 🟡 Yellow: Caution
  • • 🟢 Green: Resistant
  • • 🔵 Blue: Electronics
  • • ⚫ Black: Heavy

7. Necessary tools

Having the right tools makes disassembly more efficient and safe.

Basic tools

  • • Screwdrivers (flat and star)
  • • Allen keys (metric)
  • • Hammer
  • • Pliers
  • • Measuring tape

Specialized tools

  • • Drill with bits
  • • Socket wrench
  • • Disassembly lever
  • • Safety glasses
  • • Work gloves

Packaging materials

  • • Cardboard boxes
  • • Bubble wrap
  • • Protection blankets
  • • Adhesive tape
  • • Labels

8. Professional tips

Tips from professionals with years of experience in moves and furniture disassembly.

💡 Planning

Start 2 weeks before the move. Begin with less essential furniture and leave for last those you use daily.

⏰ Estimated time

Reserve 2-3 hours per complex piece of furniture. Large wardrobes may require up to 4 hours of careful disassembly.

🔧 Disassembly order

Always disassemble in reverse order of assembly: first accessories, then doors, then structure, and finally the base.

⚠️ Special precautions

For furniture with glass, disassemble the panels first and pack them separately. Use double protection on corners.

Do You Need Professional Help with Your Move?

Our professionals can help you with disassembly, transport and assembly of your furniture. Guaranteed service and transparent prices.